
宝塔搭建hexo博客教程
1 安装宝塔
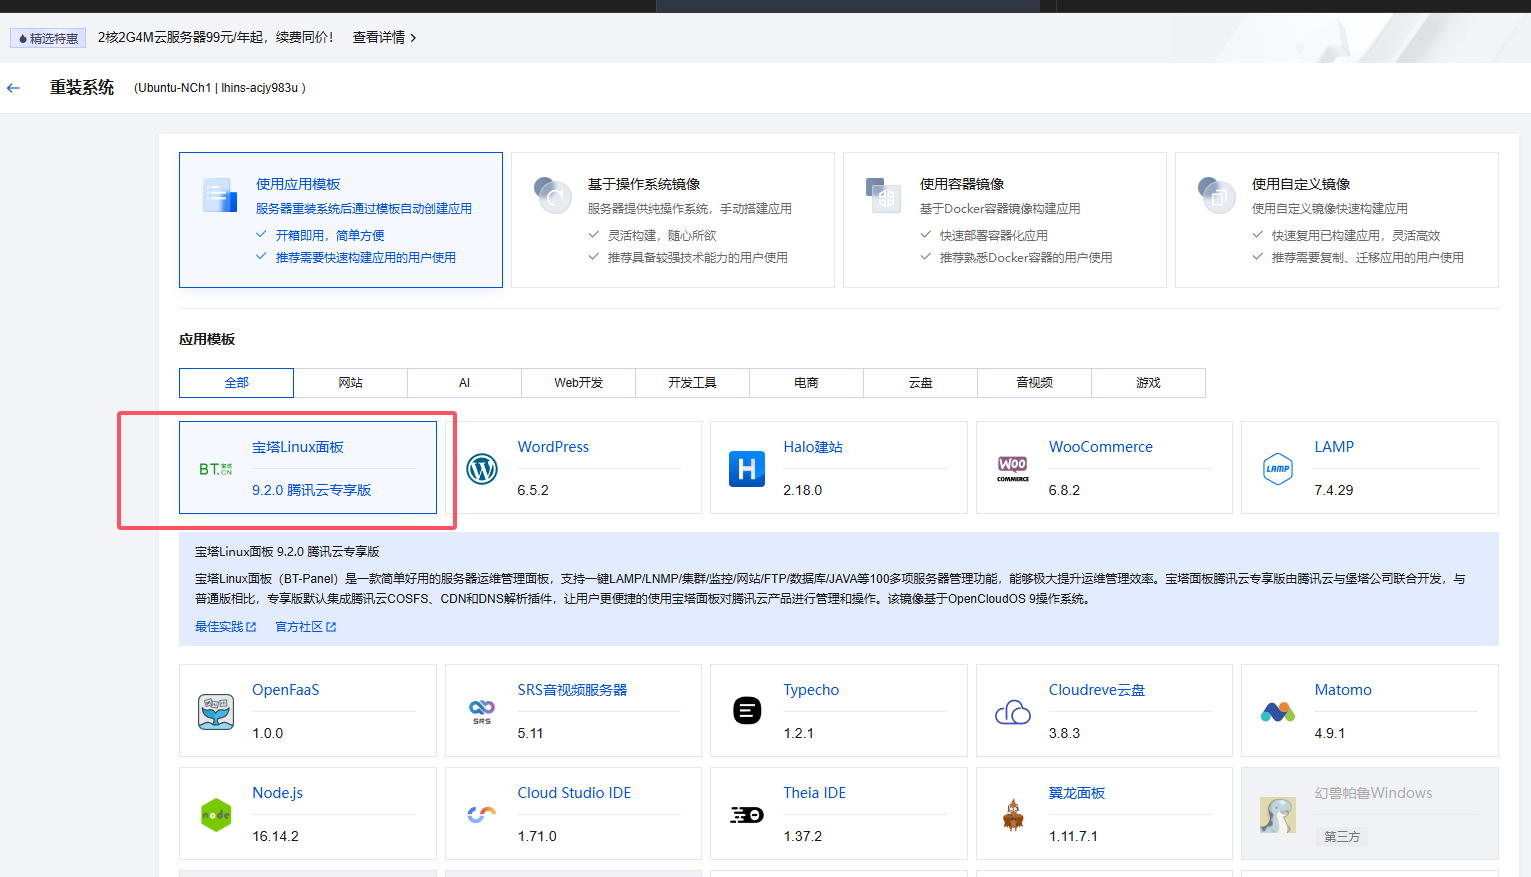
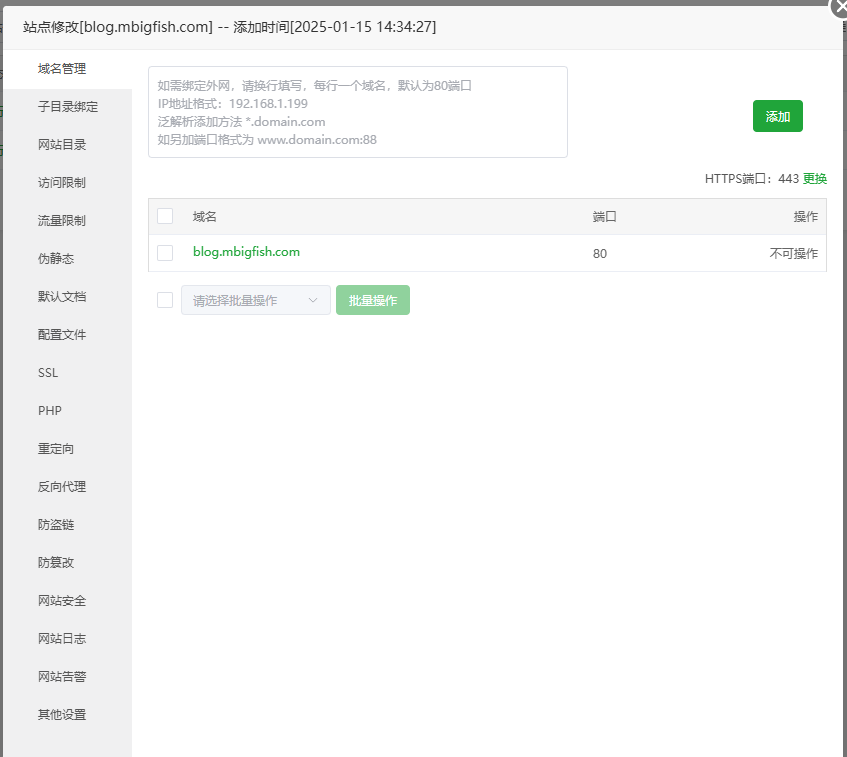
2 创建网站
2.1 新建网站
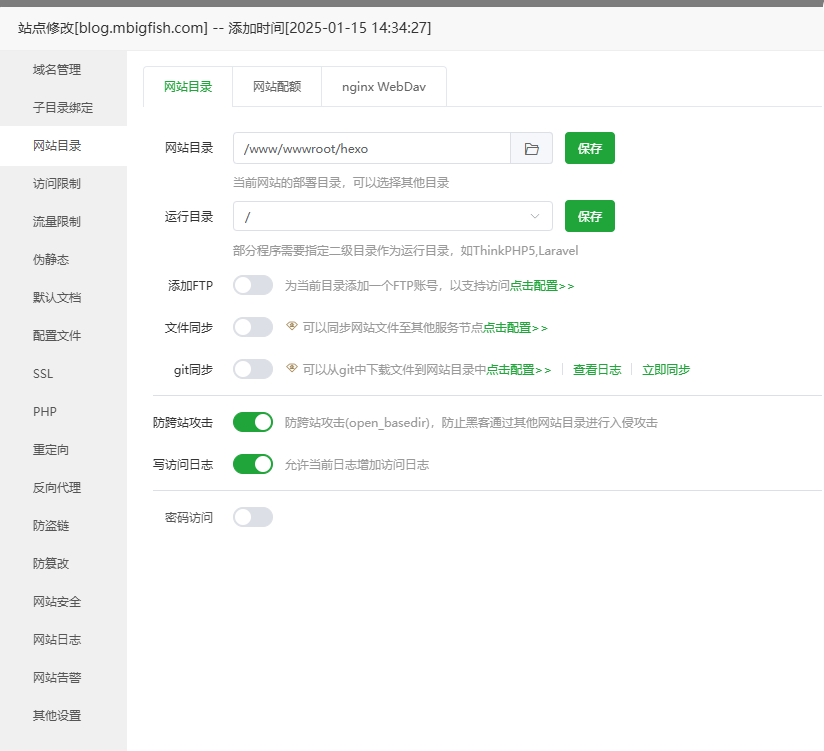
2.2 网站目录
3 Git 环境配置
3.1 安装git
1 | yum install git |
3.2 创建git用户
3.2.1 创建git用户
1 | adduser git |

3.2.2 修改git用户的权限
1 | chmod 740 /etc/sudoers |

3.2.3 进入 sudo 命令文件
1 | vim /etc/sudoers |
找到root ALL=(ALL) ALL,在下面添加git ALL=(ALL) ALL

3.2.4 修改文件夹权限
1 | chmod 400 /etc/sudoers |

3.2.5 设置 git 用户的密码
1 | sudo passwd git |

3.3 配置 SSH 免密登录
3.3.1 服务端
1 | # 切换到 git 用户 |

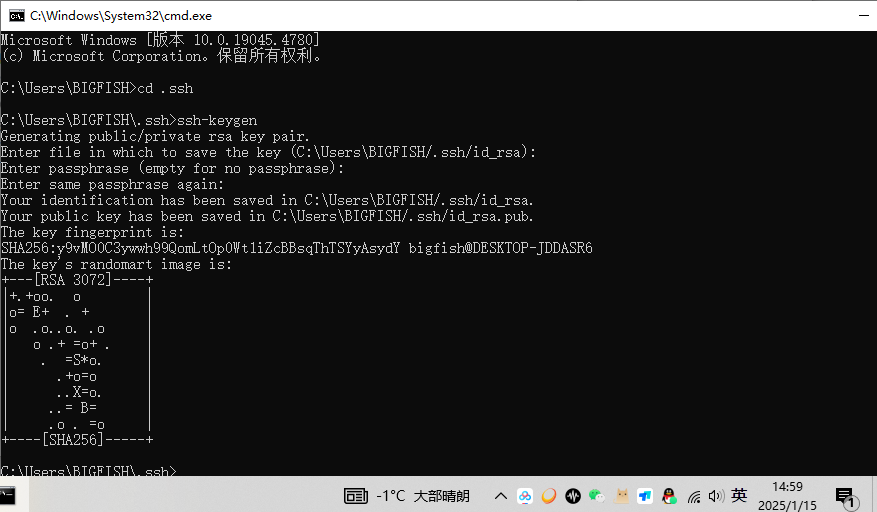
3.3.2本地端
文件管理器中输入%homepath%,会跳转到用户目录下

在当前目录打开cmd命令
1 | # 在本地生成公钥/私钥对 |
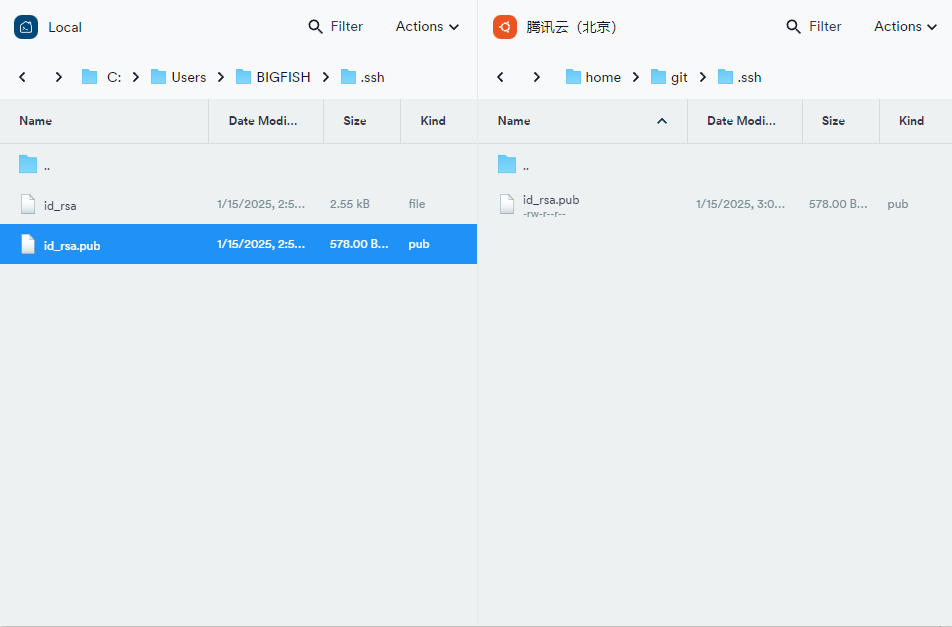
3.3.3 上传公钥
将本地的公钥(id_rsa.pub)上传到服务器的/home/git/.ssh目录下
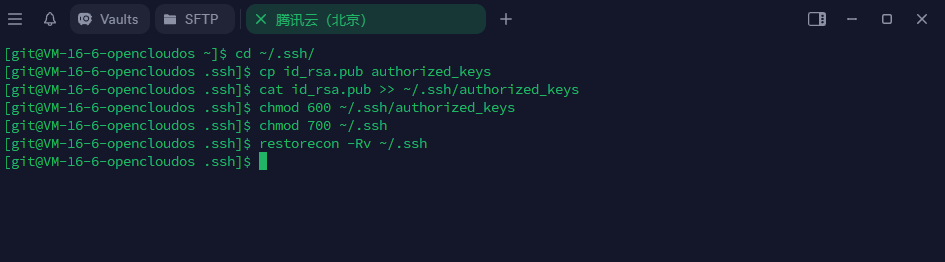
3.3.4 服务端配置
新建authorized_keys文件,并拷贝公钥的内容到该文件中,依次执行以下指令:
1 | cd ~/.ssh |
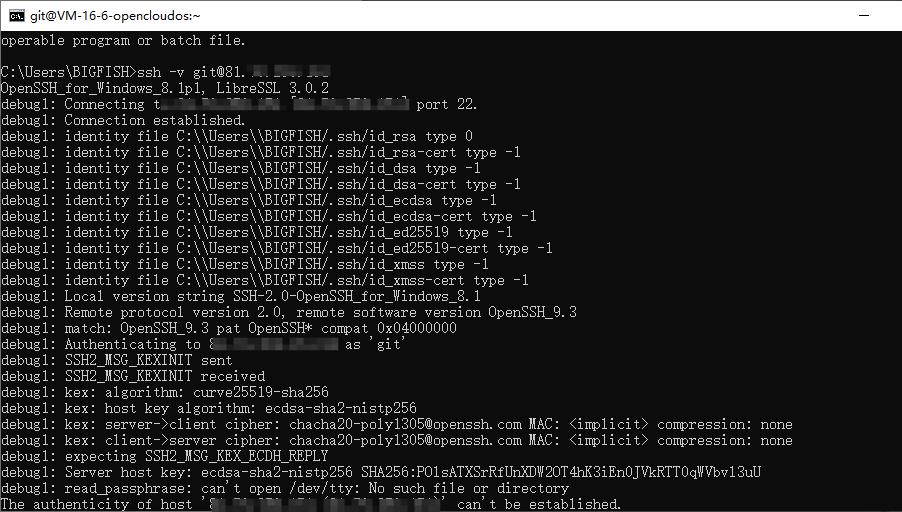
3.3.5 测试免密登录
进入本地计算机的 Git Bash,输入:
1 | ssh -v git@xxx.xxx.xxx.xxx(公网IP) |
3.4 配置 Git 仓库
在服务器新建一个 Git 仓库,同时新建一个钩子文件
1 | cd ~ |

授予钩子文件可执行权限
1 | chmod +x ~/hexo.git/hooks/post-receive |

4 本地端配置
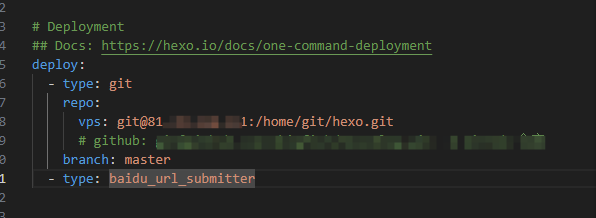
4.1 修改_config.yml
在本地计算机打开 Hexo 项目,我用的 vscode,修改_config.yml文件中的deploy:
1 | deploy: |
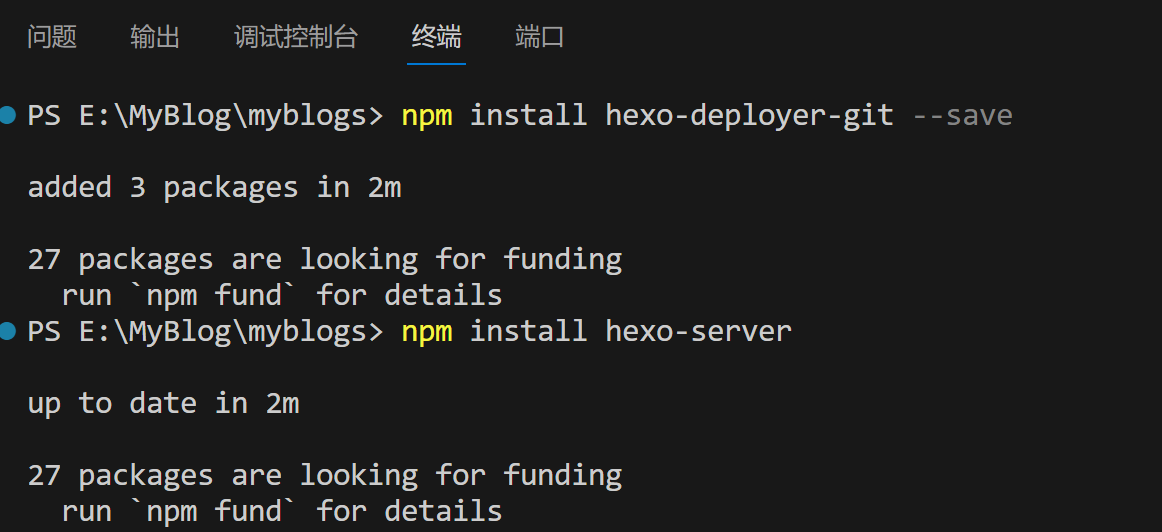
4.2 安装插件
1 | # 用于将 Hexo 生成的静态文件推送到指定的 Git 仓库 |
4.3 配置 Git 全局变量
本地终端执行一下命令
1 | # email 和 name 随便填一个也可以 |

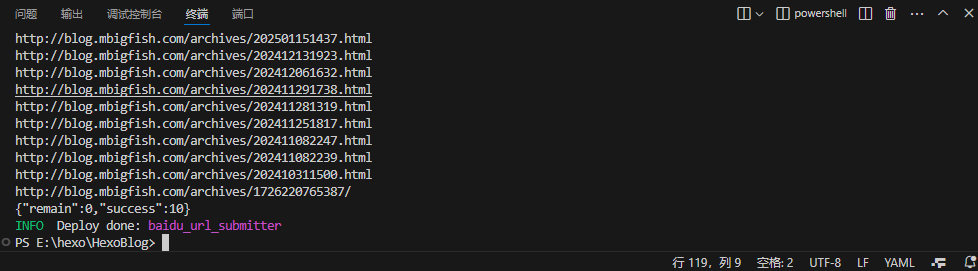
4.4 生成静态文件和发布博客
在 vscode 的终端中输入:
1 | # 清除之前生成的静态文件 |
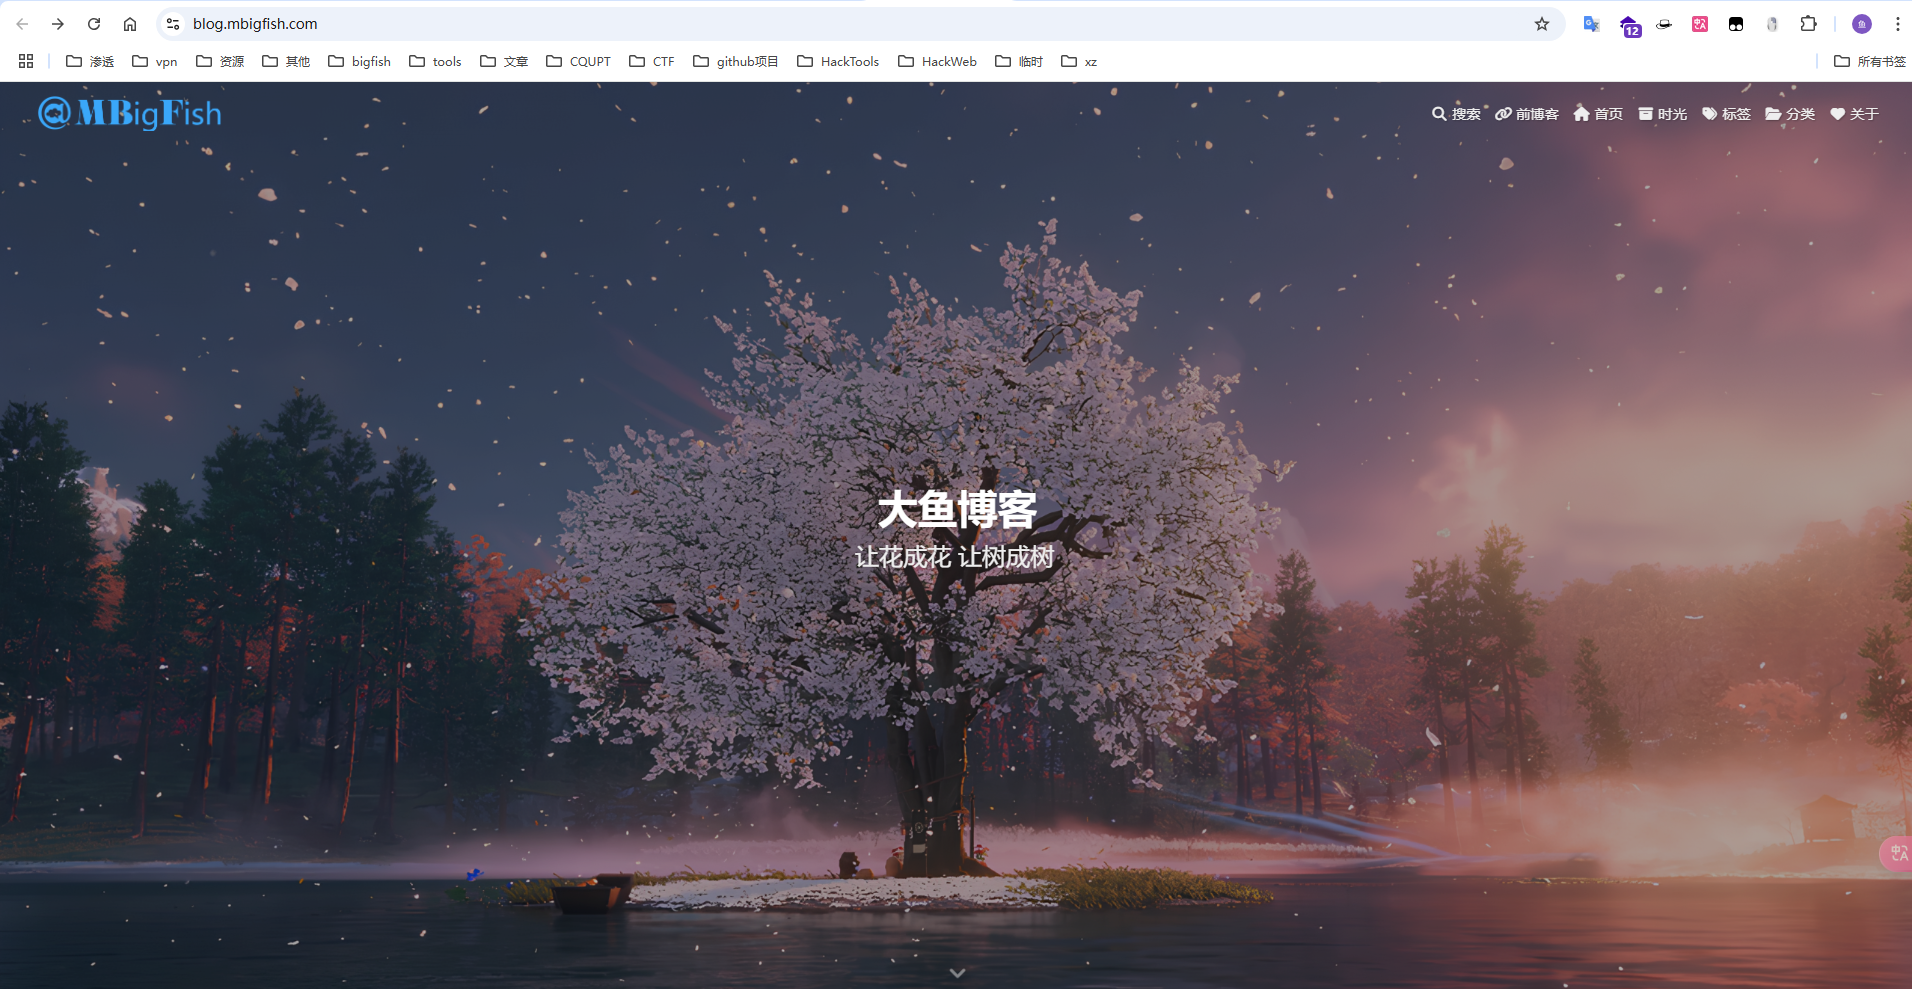
5 访问网站
参考:
本博客所有文章除特别声明外,均采用 CC BY-NC-SA 4.0 许可协议。转载请注明来源 大鱼博客!
相关推荐
2024-09-02
Linux安装v2ray
Linux安装v2ray一、下载与安装v2rayA 的功能依赖于 V2Ray 内核,因此需要安装内核。 (一)安装 V2Ray 内核 / Xray 内核1.V2Ray / Xray 的官方脚本 V2Ray 安装参考:https://github.com/v2fly/fhs-install-v2ray Xray 安装参考:https://github.com/XTLS/Xray-install 2.v2rayA 提供的镜像脚本(推荐)1sduo curl -Ls https://mirrors.v2raya.org/go.sh | sudo bash 安装后可以关掉服务,因为 v2rayA 不依赖于该 systemd 服务。 1sudo systemctl disable v2ray --now ### Xray 需要替换服务为 xray (二)安装 v2rayA1. 通过软件源安装a. 添加公钥1wget -qO - https://apt.v2raya.org/key/public-key.asc | sudo tee...
2024-09-02
sub-web订阅转换面板的搭建教程
sub-web订阅转换面板的搭建教程一、Sub-Web 前端搭建项目地址:https://github.com/CareyWang/sub-web (一)安装 docker12345# 官方一键安装脚本curl -fsSL https://get.docker.com | bash -s docker --mirror Aliyun#国内 daocloud 一键安装命令curl -sSL https://get.daocloud.io/docker | sh (二)下载源码1git clone https://github.com/CareyWang/sub-web.git (三)搭建前端1.打开文件1cd sub-we 2.运行 docker1docker run -d -p 58080:80 --restart always --name subweb careywong/subweb:latest (四)修改后端地址并增加远程规则1.找到 VPS...
2024-09-01
【原创】渗透思路-信息收集
渗透思路 - 信息收集本篇渗透思路由本人对网上信息归纳总结,形成自己的独特渗透思路,原创内容!!! 时间:2024-09-01 作者:mBigFish 一、信息收集 渗透的本质是信息收集,信息收集也叫做资产收集。 信息收集是渗透测试的前期主要工作,是非常重要的环节,收集足够多的信息才能方便接下来的测试,信息收集主要是收集网站的域名信息、子域名信息、目标网站信息、目标网站真实IP、敏感/目录文件、开放端口和中间件信息等等。通过各种渠道和手段尽可能收集到多的关于这个站点的信息,有助于我们更多的去找到渗透点,突破口。 下面,我将信息收集分为两部分 第一部分:对靶标进行资产拓展,获取到更多的资产,从而增大渗透面。 第二部分:对获取到的每一个站点,进行站点相关信息的获取。 (一)资产收集1.whois123- 注册人 电话 邮箱 地址- http://whois.chinaz.com- kali自带的whois工具 2.子域名(1)域名的级别分类 根域名(也称顶级域名),如 baidu.com 二级域名,如 www.baidu.com 三级域名,如...
2024-11-25
【原创】破解校园网设备限制
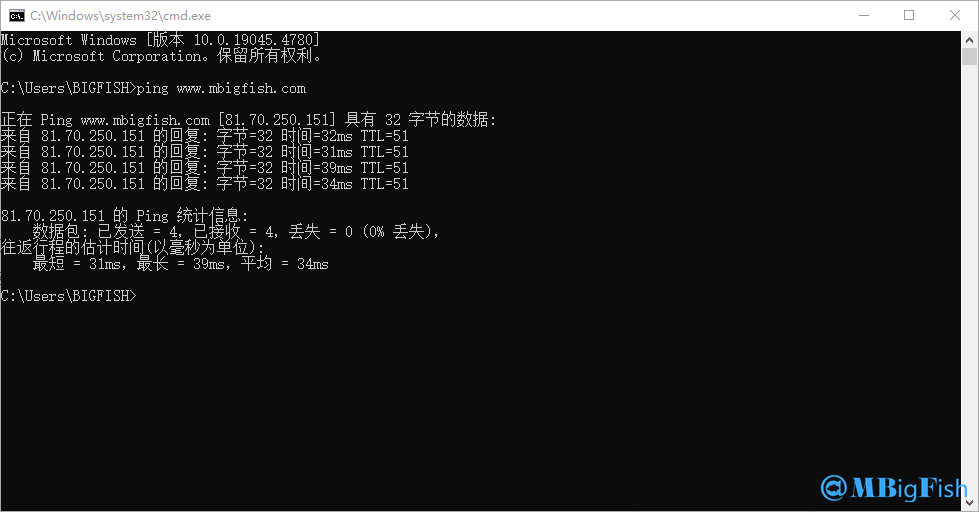
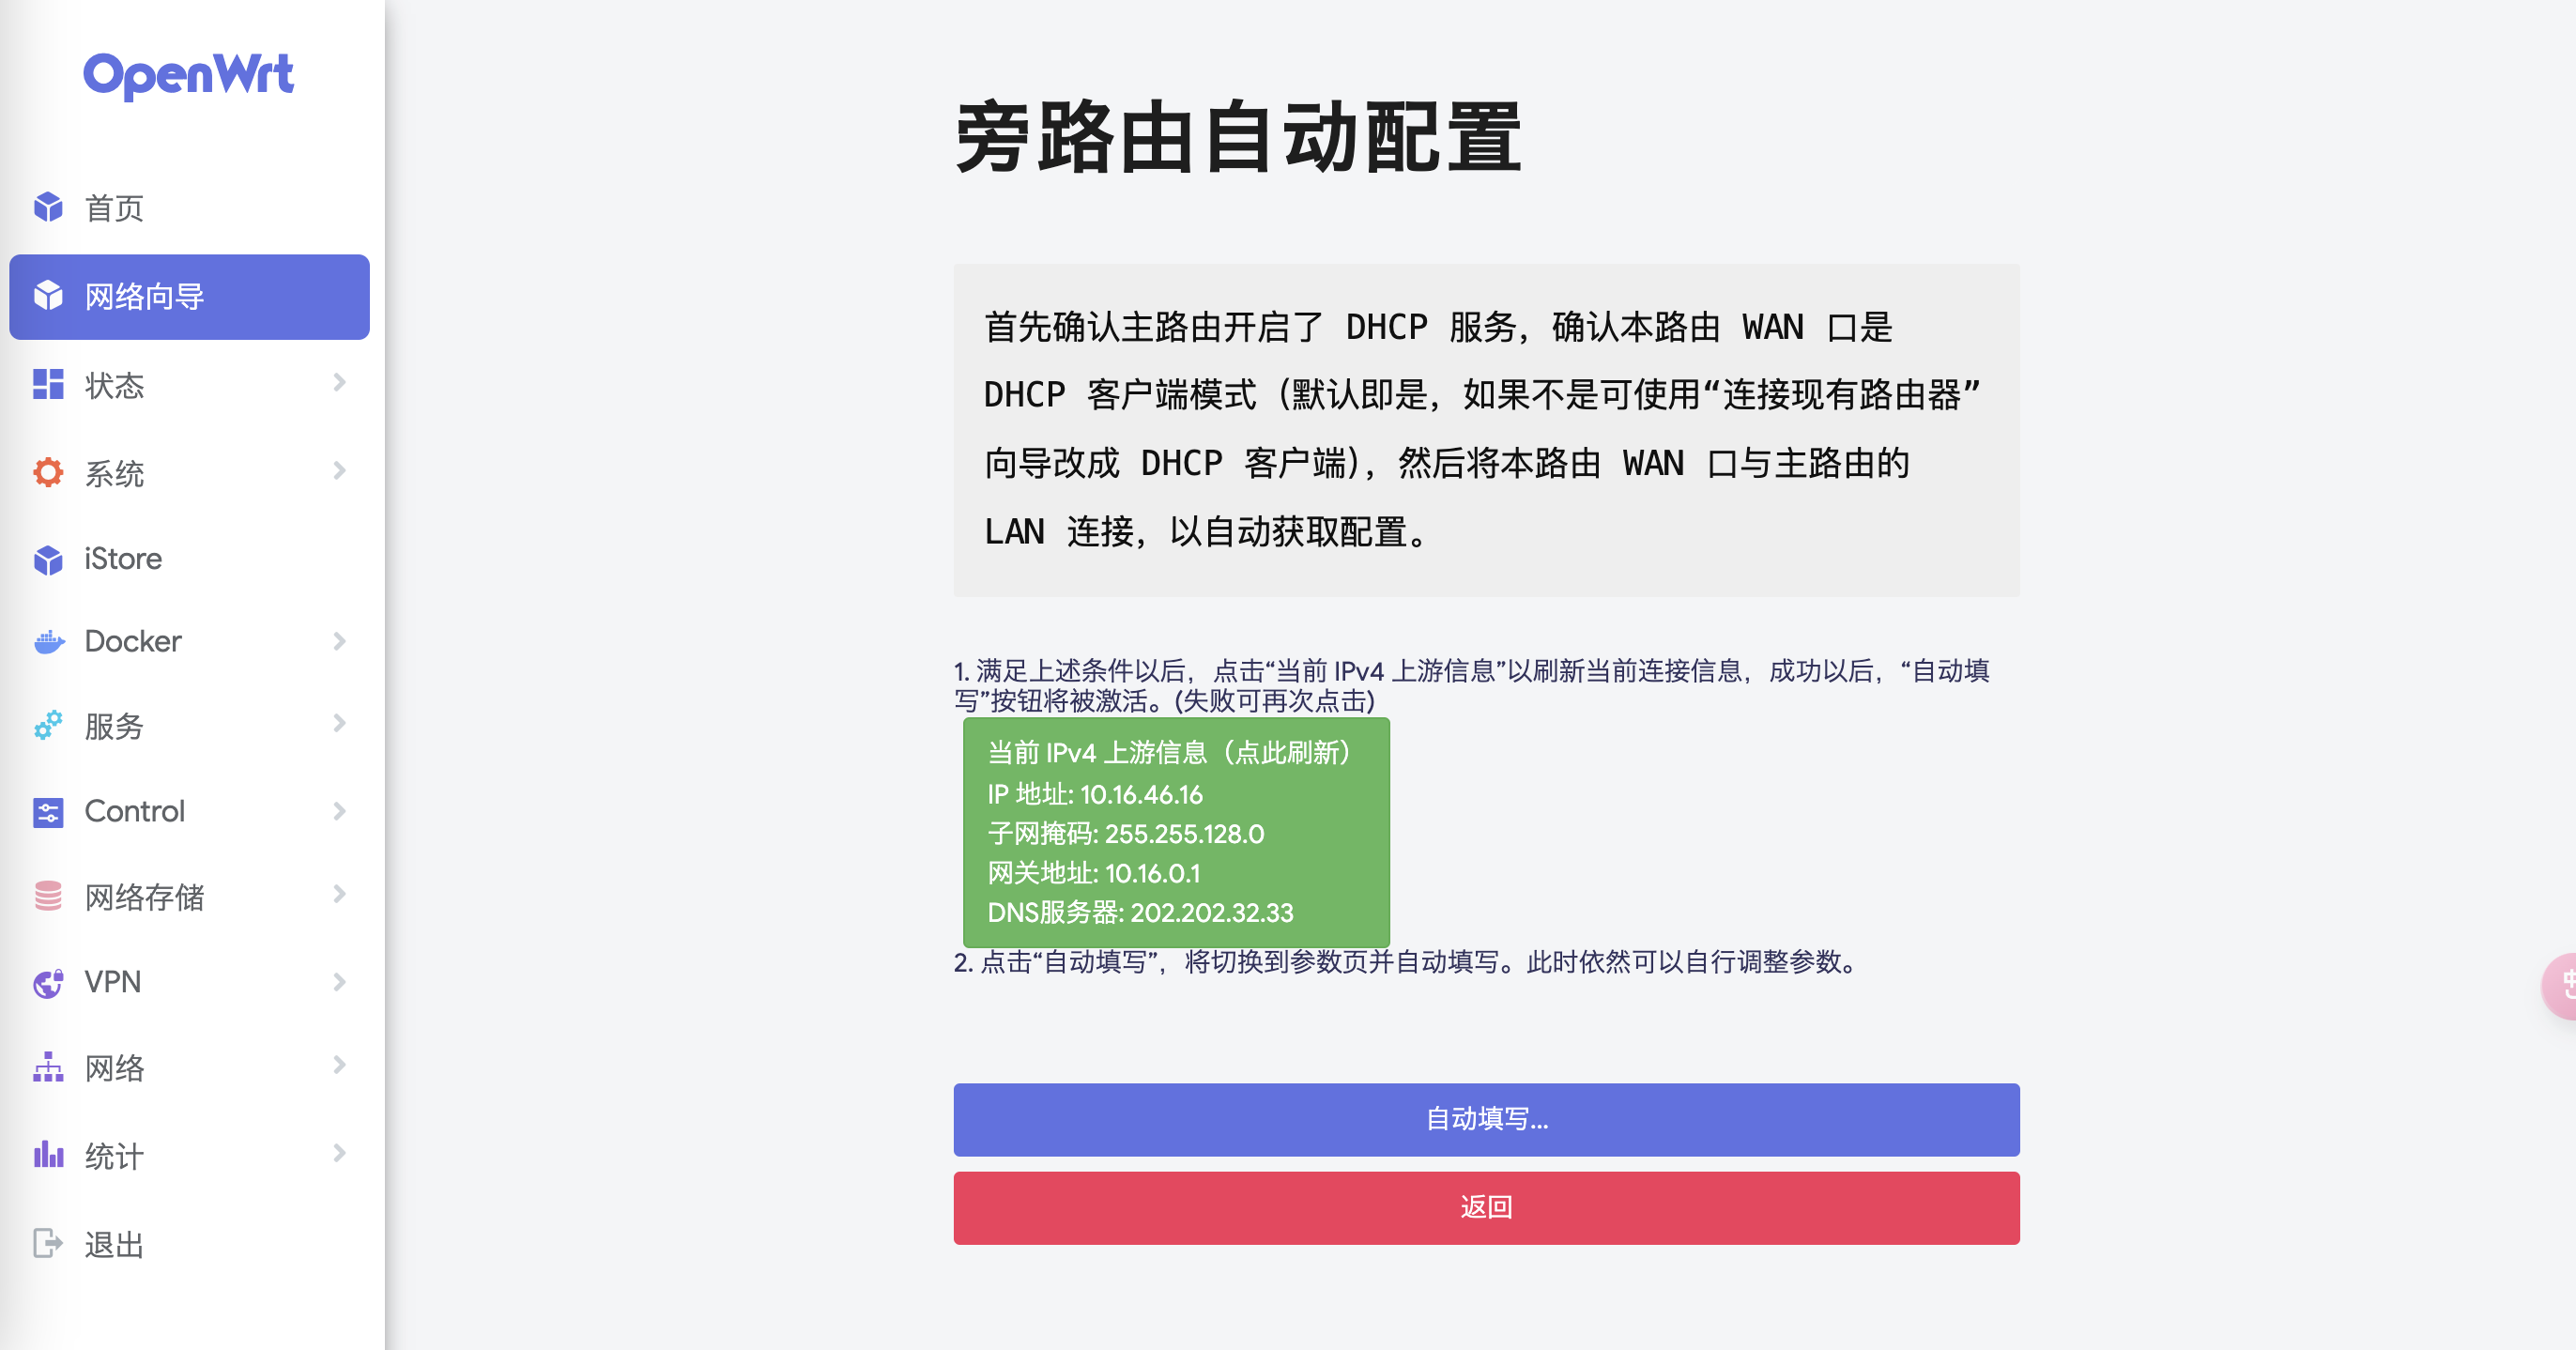
【原创】破解校园网设备限制1 介绍 在宿舍使用软路由,将其配置为旁路由,可以在宿舍里,连接wifi,在网关和旁路由网关相同情况下,将自己设备网关修改为旁路由IP,即可实现不用登录使用校园网 我在使用的是,将旁路由连上网线,开启旁路由Wi-Fi,在宿舍里连接旁路由的wifi,将网关修改为旁路由IP,即可免登录使用校园网 在其他地方的wifi网关和寝室不一样,所以不能直接修改网关为旁路由ip,所以只能在寝室免登录使用校园网 但是后面又有一个方法,就是使用旁路由的passway插件,开启服务端,创建sockes,这样无论在学校哪里,只要连接上校园网,开启clash工具,使用自己创建的sockes,开启全局流量,即可全校园免登录使用校园网 2 刷软路由 请网上找刷 openwrt的教程 我这里使用的是n1盒子,刷完之后是这样的 3 软路由配置3.1 配置为旁路由 这里最好是使用静态IP,而非是使用dhcp,但是我这里使用静态ip用不了,所以只能使用dhcp 使用dhcp也没什么问题,只不过每次重启软路由之后,都需要修改使用设备的网关 3.2 登录校园网3.2.1...
2024-11-29
【原创】渗透思路-SQL注入详解
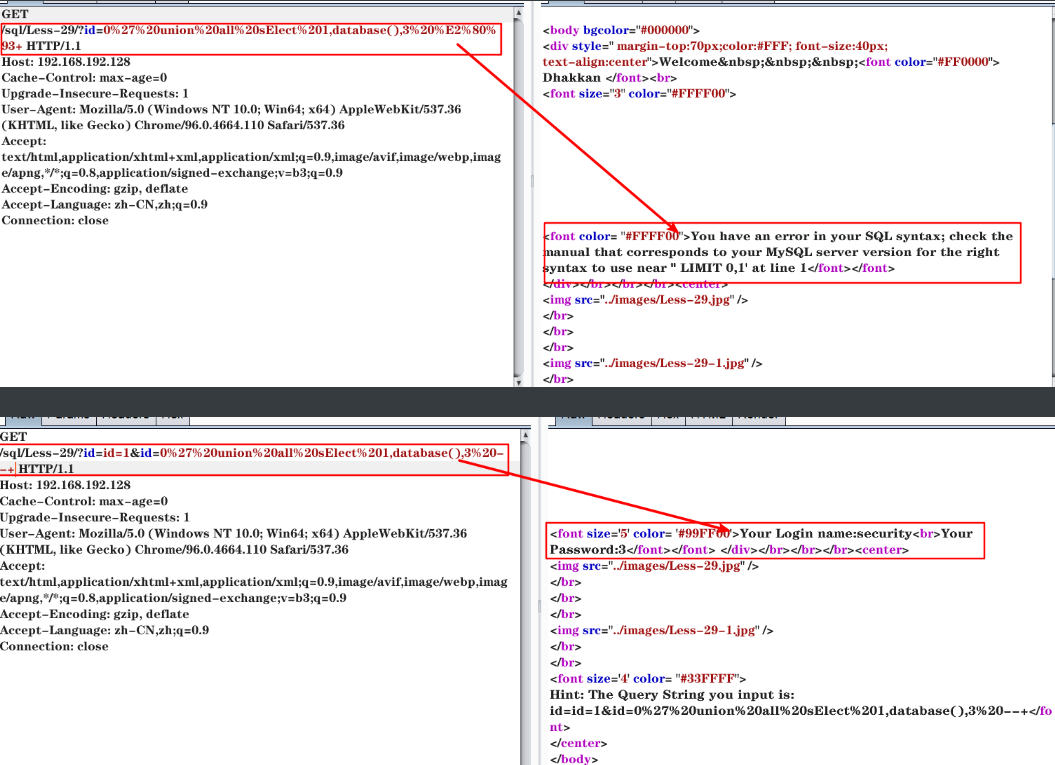
渗透思路-SQL注入sql注入介绍一、分类(一)根据输入参数分为: 数字型注入 字符型注入 (二)根据注入技巧分为: 联合注入 盲注 堆叠注入 报错注入 二次注入 宽字节注入 (三)根据提交类型分为: GET 注入 POST 注入 COOKIE 注入 HTTP 头部注入 (四)根据服务器返回响应分为:1、有回显 联合查询注入 堆叠注入 2、无回显 报错注入 布尔注入 延时注入 二、注入技巧(一)联合注入联合查询注入是sql注入最常规的注入方法。 攻击者利用SQL的UNION关键字将恶意查询语句与正常查询语句合并,达到获取敏感信息的目的。这种注入方式在目标页面显示查询结果时尤其有效,攻击者可以通过联合查询将数据库中的敏感数据“联合”到页面输出中。 UNION关键字用于将两个或多个SELECT查询的结果合并在一起。联合查询注入的目标是在原有查询的结果上追加一个攻击者构造的查询,从而将敏感数据(如数据库用户名、表名、字段名等)展示到页面上。 UNION...
2024-11-28
护网培训笔记
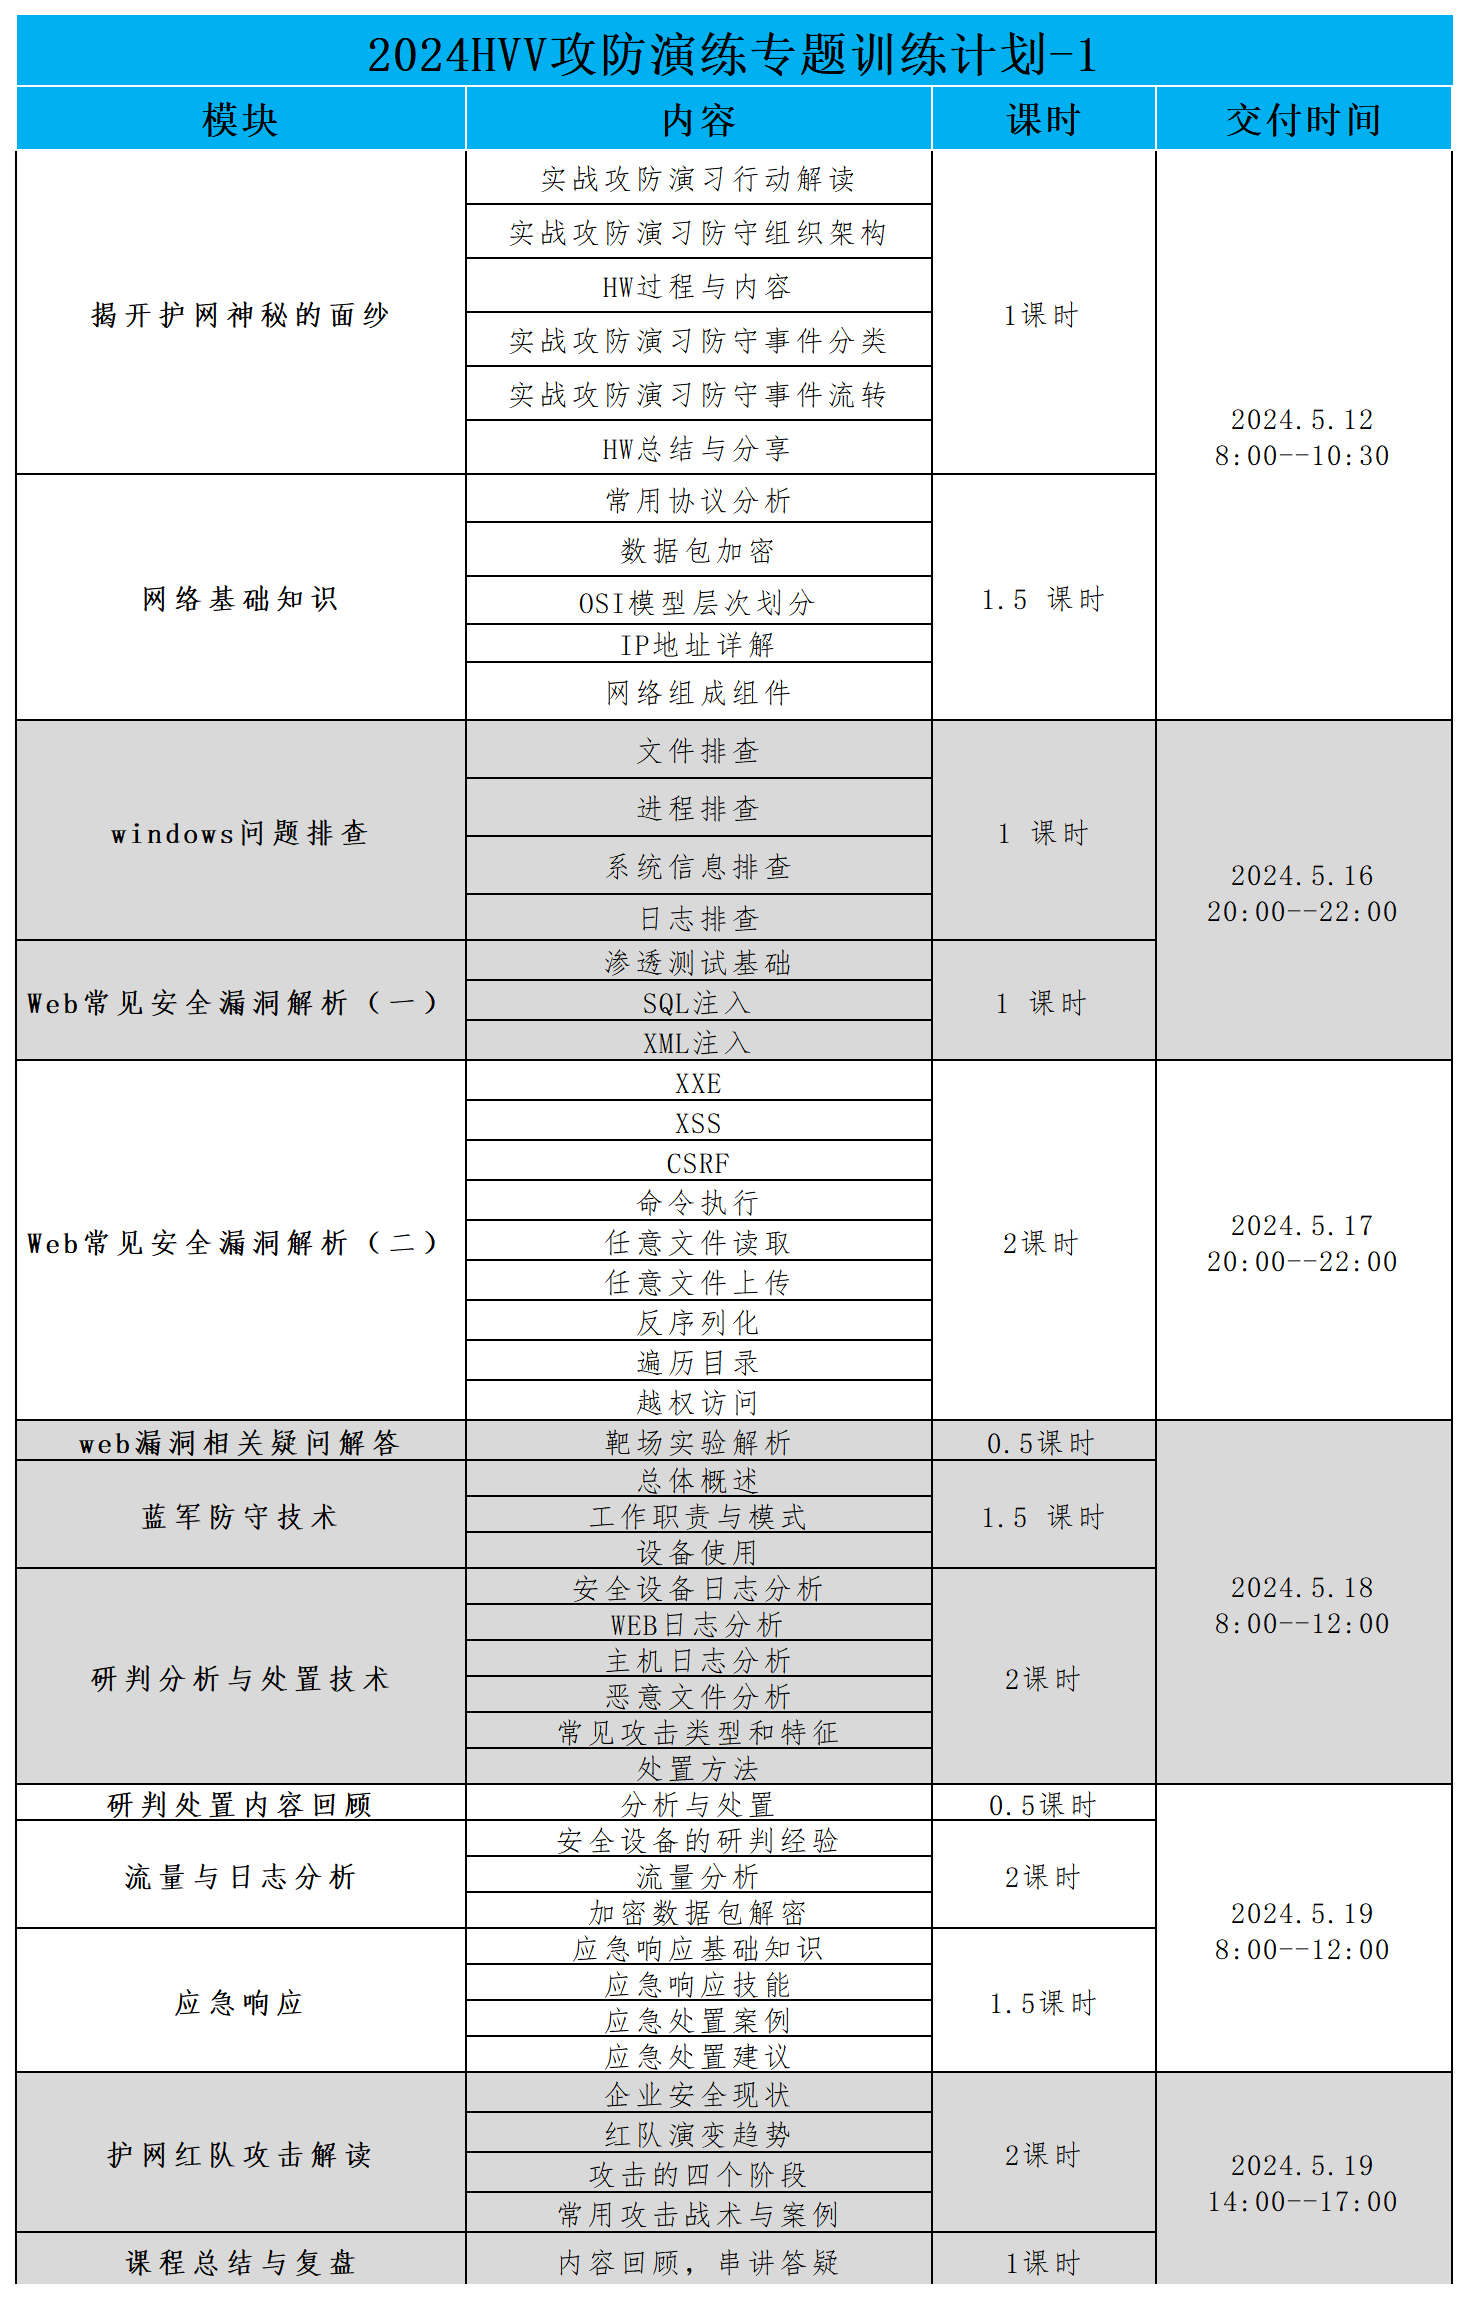
 第一节课:护网概述一、演练流程 统筹阶段 方案策划 项目进场实施 安全意识培训 自查阶段 资产梳理 安全检测与加固 防御体系建设 防护策略优化 演练阶段 应急流程培训 第一轮演练 第二轮演练 实战阶段 实战防守 总结阶段 演习恢复 演习总结 整改建议 二、攻防演练防护过程(一)准备阶段 防守方案编制 防守工作启动会 人员结构组织 目标系统梳理 网络架构检查 安全防护设备、厂商梳理了解 APT检测、流量分析、态势感知等安全检测设备梳理了解 (二)自查阶段 自查阶段 互联网资产扫描探测 漏洞扫描 渗透测试 安全风险检查(集权类系统、网络划分应用系统、网络攻击风险等检查) 安全基线/配置核查 安全设备策略有效性检查 日志审计情况检查 重大活动或之前进行的安全评估结果复查 安全监测、防护设备补充完善 安全整改加固 (三)常见安全设备: 边界隔离:网闸、下一代防火墙/UTM 旁路检测:...
评论